Third Gen Restoration - The Engine
| The engines in both the 85 and 86 Z28's were only 305's, so I looked around for a 350 to use. |
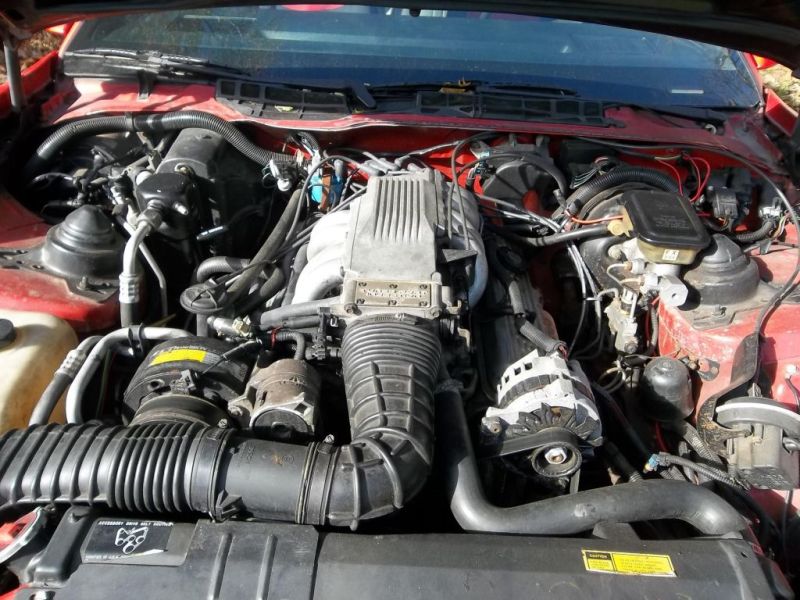 The motor I eventually found was sourced from a 1989 GTA that was being parted out. |
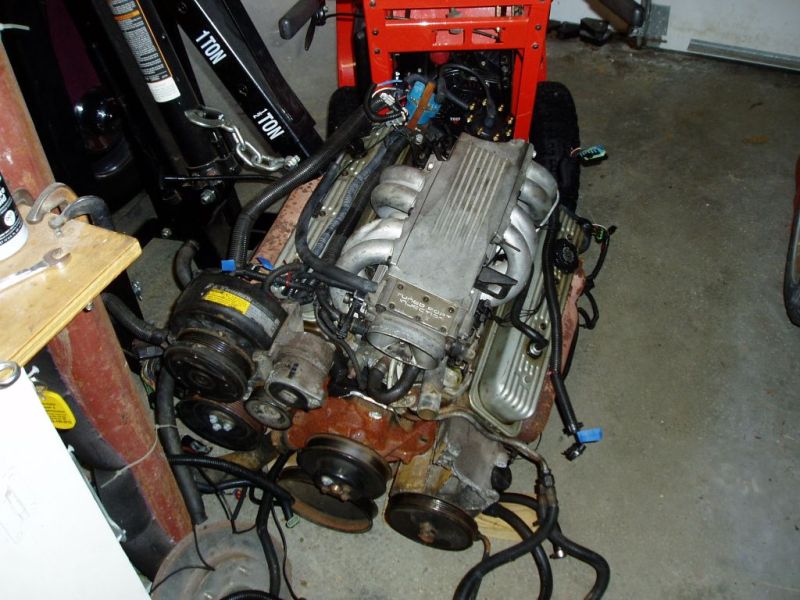 The motor is complete with the wiring and ECU. It was thought to have a blown head gasket. |
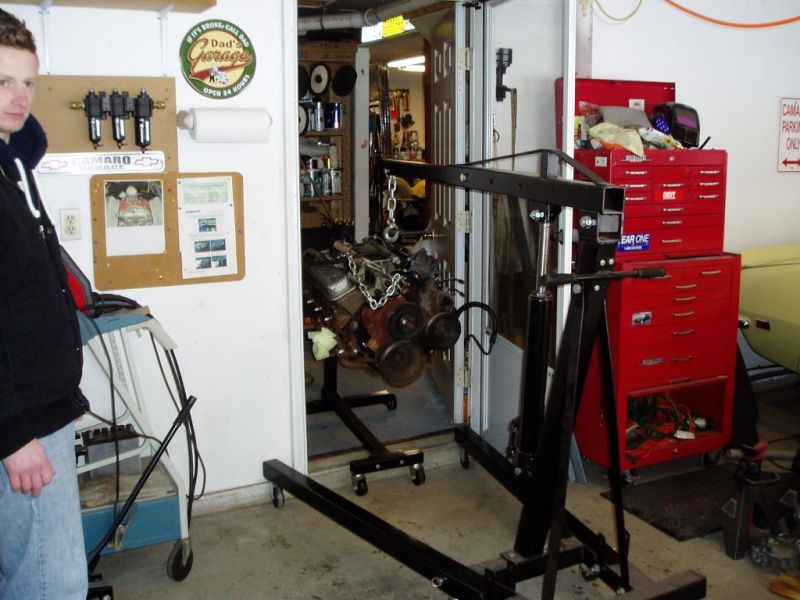 My son helping move the motor into the basement where it will be a little warmer to work on it. |
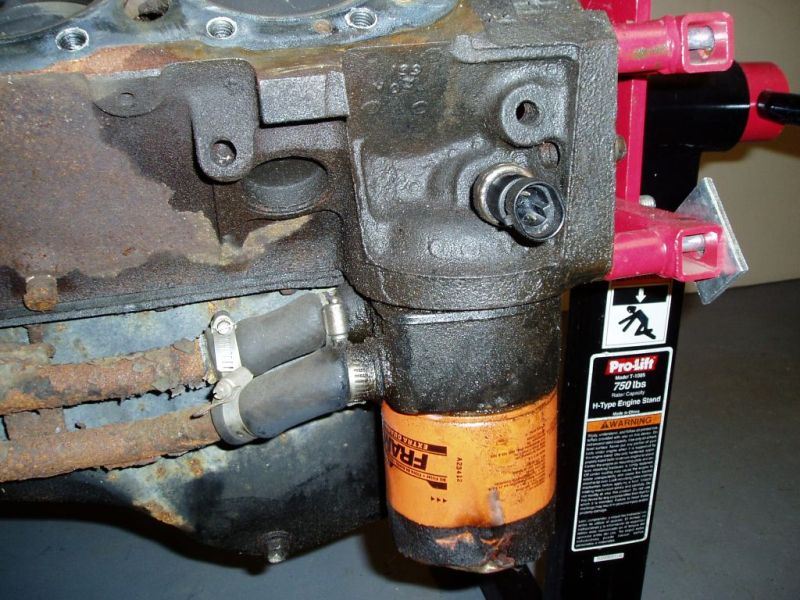
 After breaking it down a bit it was clear that something was wrong! There didn't appear to be any cracks in the block or heads and the head gaskets weren't compromised. This motor had the factory oil cooler, so I suspect that's where the leak was coming from. |
 Who thought this was a good idea? |
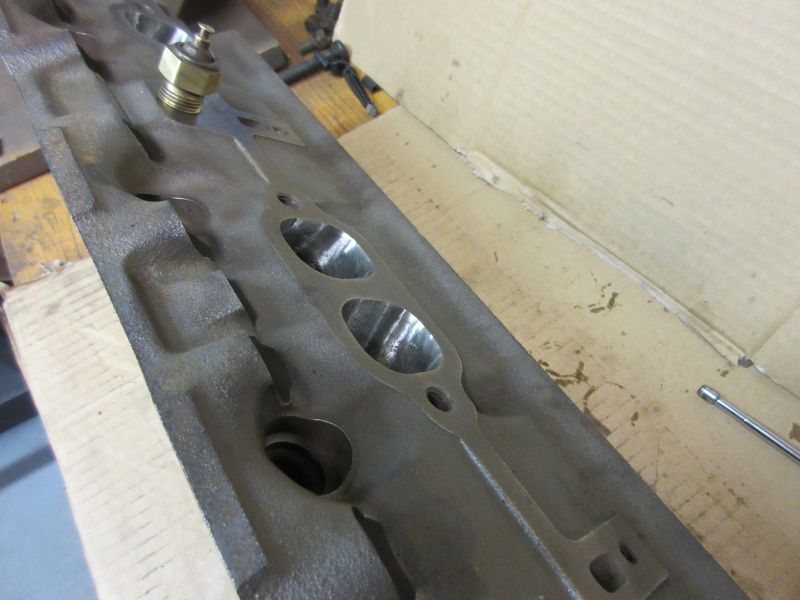
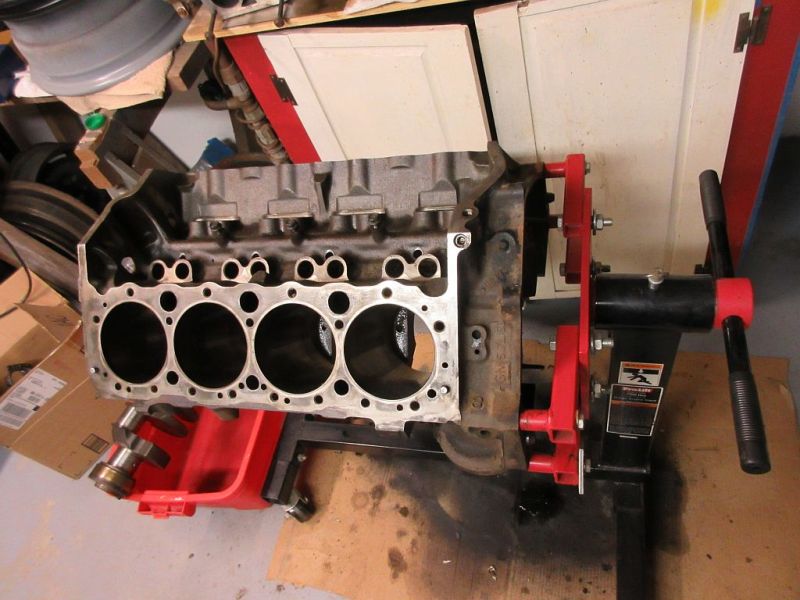 After stripping it down and cleaning it a bit, the block looks pretty good. It could use a hone, but shouldn't need to be bored. |
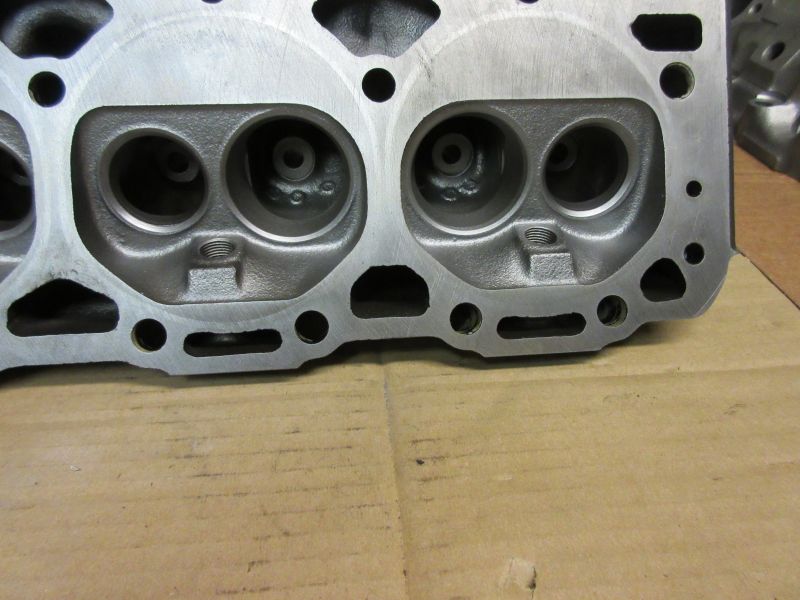
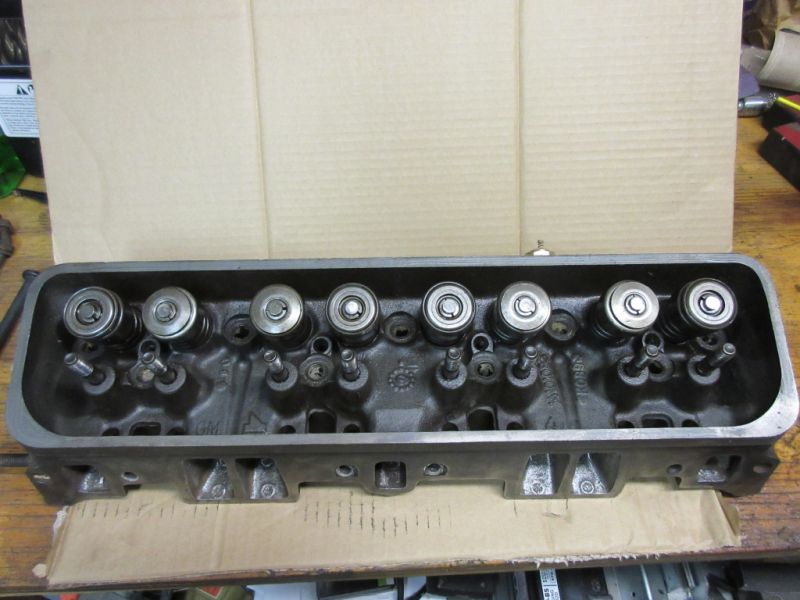 The heads will be rebuilt first. After some cleaning up they are ready to be disassembled. |
 I'll also attempt some polishing of the ports. |
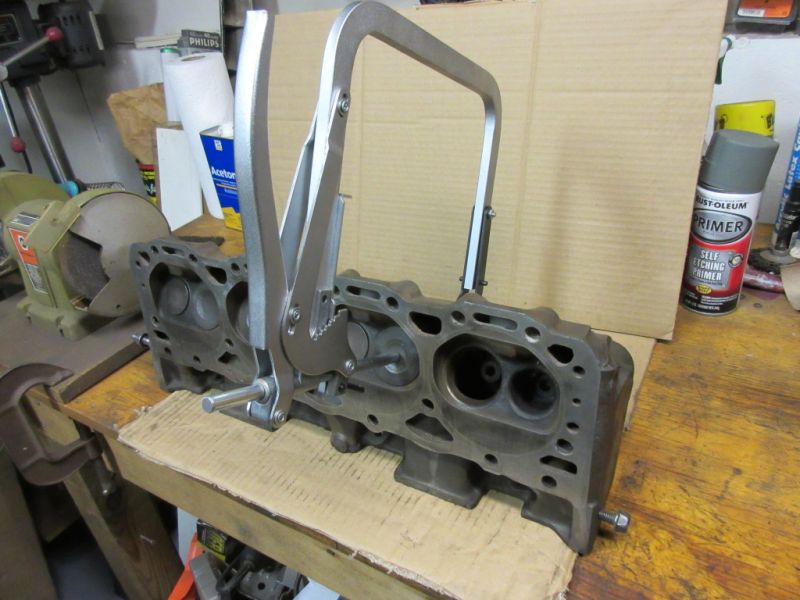 First step is to remove the valve springs. I'm using a removal tool that I rented from Advanced Auto. It works pretty good once you get it adjusted properly. Of course this one only works if the heads are off the engine. |
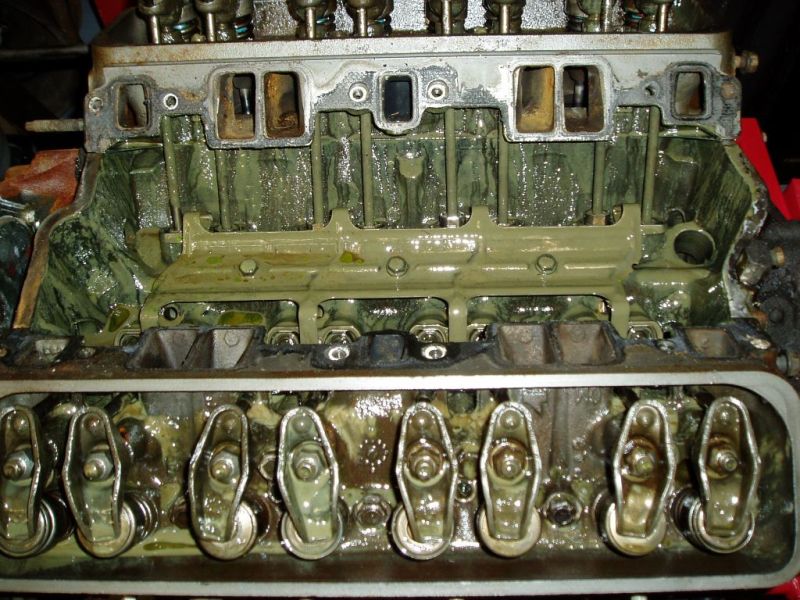
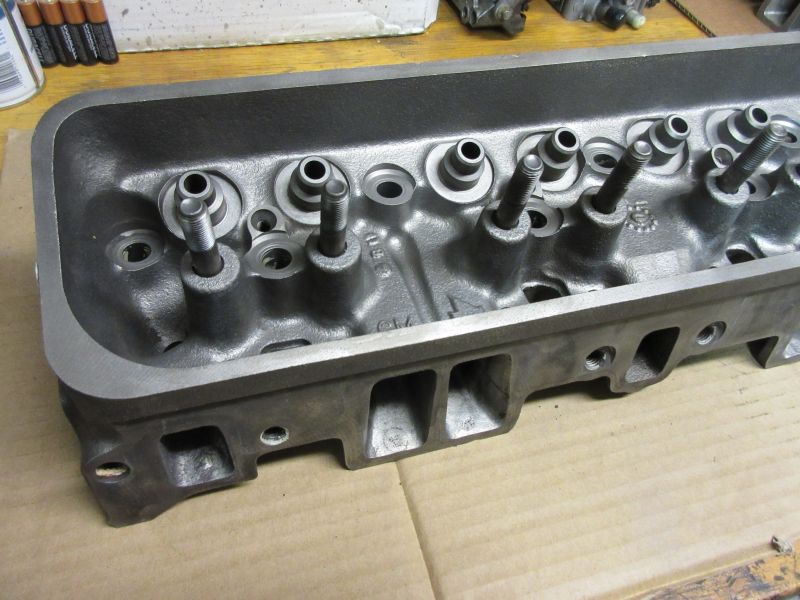
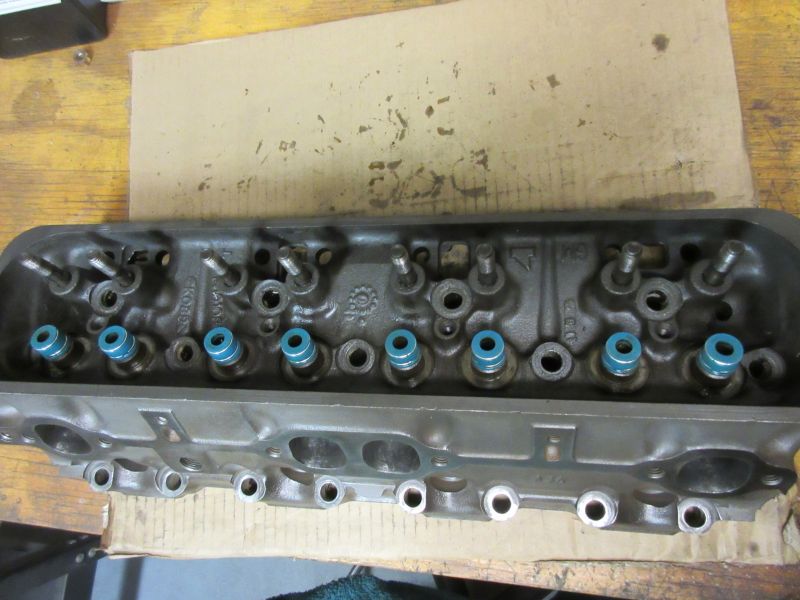 Nothing left but the valve seals. Somebody used intake seals on all the valves. |
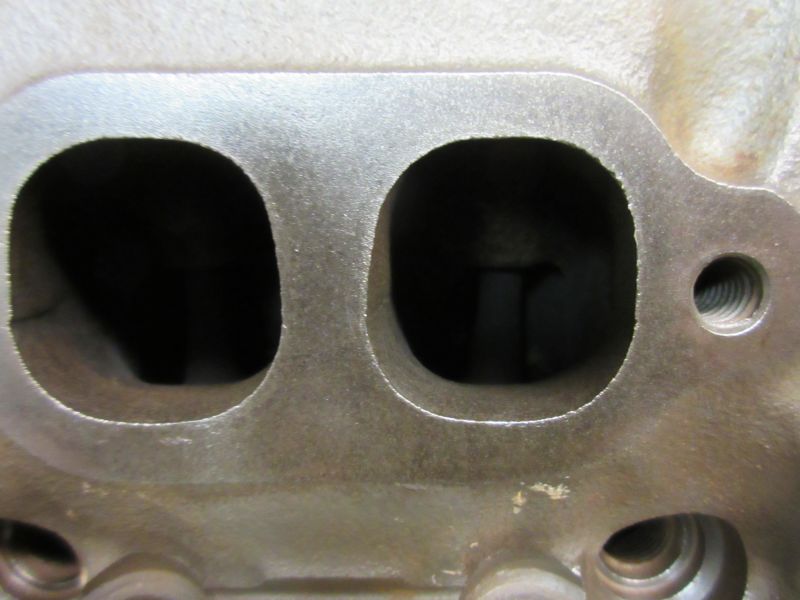
 I did a little bit of polishing on the exhaust ports using a Dremel tool. |
 After cleaning with brake cleaner, and some sanding with 120 grit on a block. Now it's off to the machine shop for hot-tanking and a magnaflux. I don't want to invest in any new parts for them until I know they're good. |
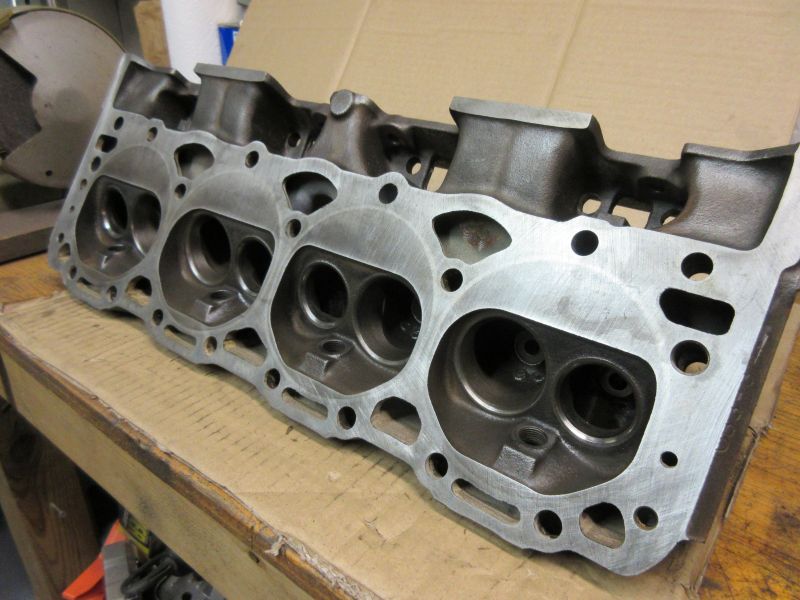
 Back from the shop the heads are looking like new again! They were blasted and pressure checked by Lawrence Crankshaft in Haverhill, MA. |
 Now it's time to do a little port and polish and then assemble them. |
 Some parts arrived from Summit Racing - new valves, rockers and valve seals. |
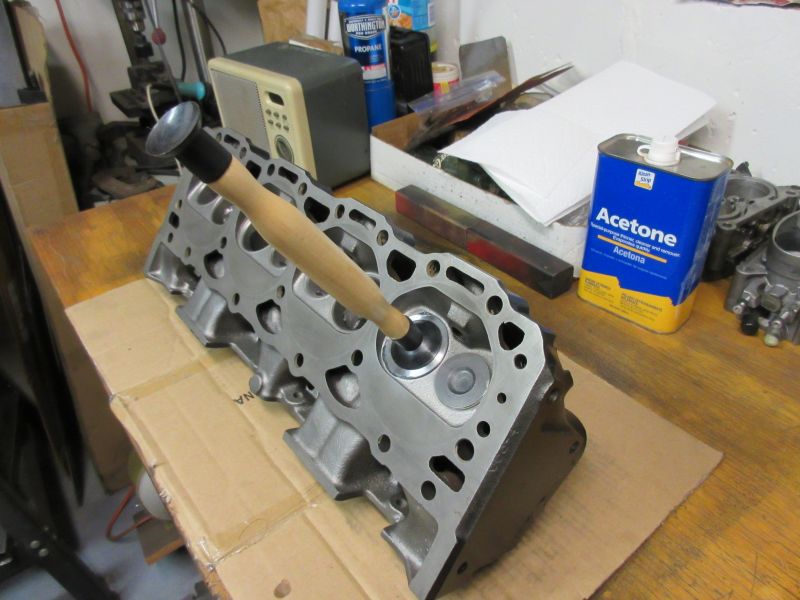 Time for some lapping! |
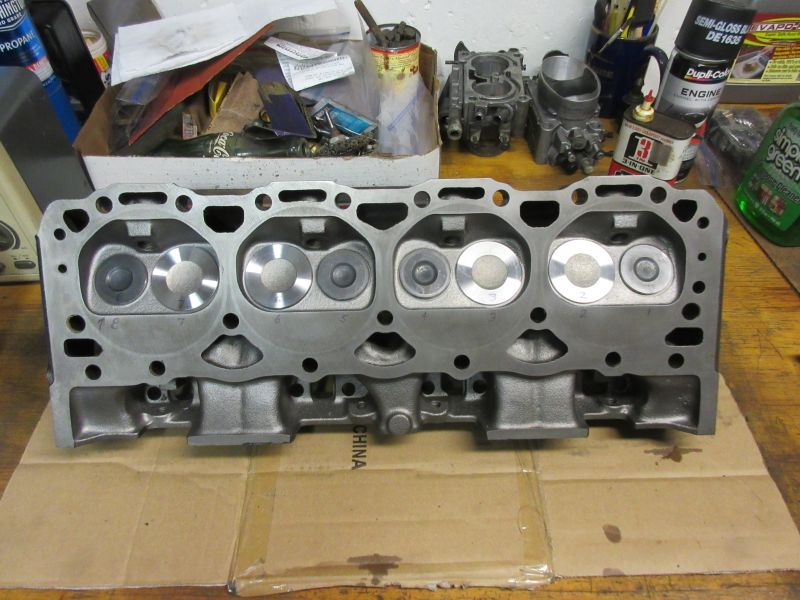 One head done and ready for valve springs. I numbered the valves to make sure they go back in the right spot. |
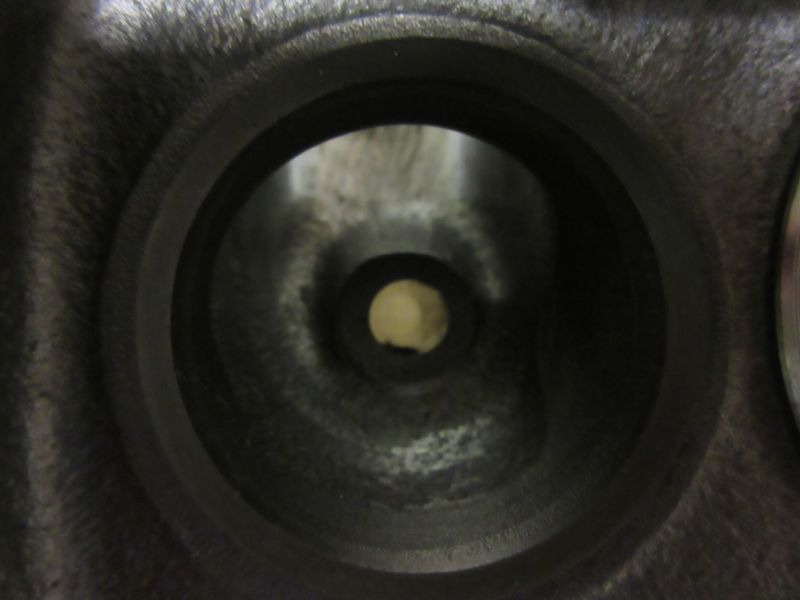 I discovered the guide for one of the exhaust valves was oval in shape. This head will have to go back to the shop for a new valve guide. |
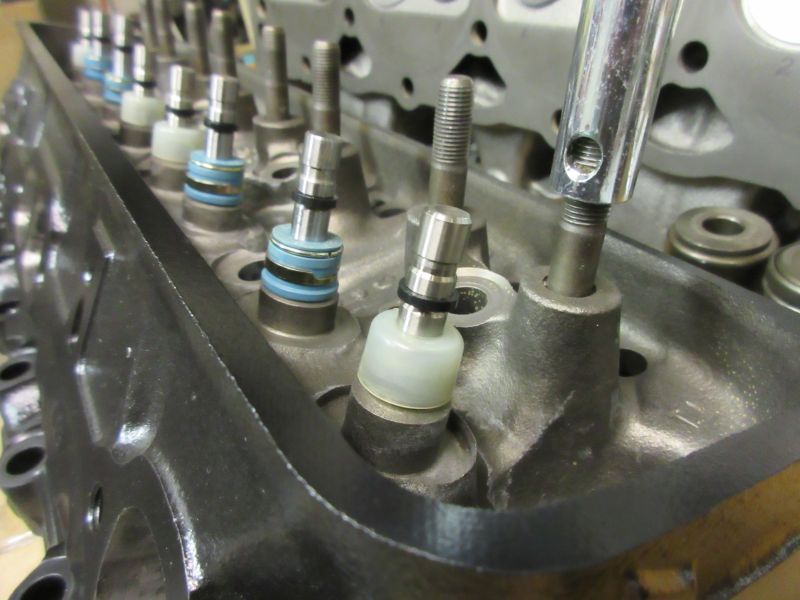 New valve seals and O-rings are installed. |
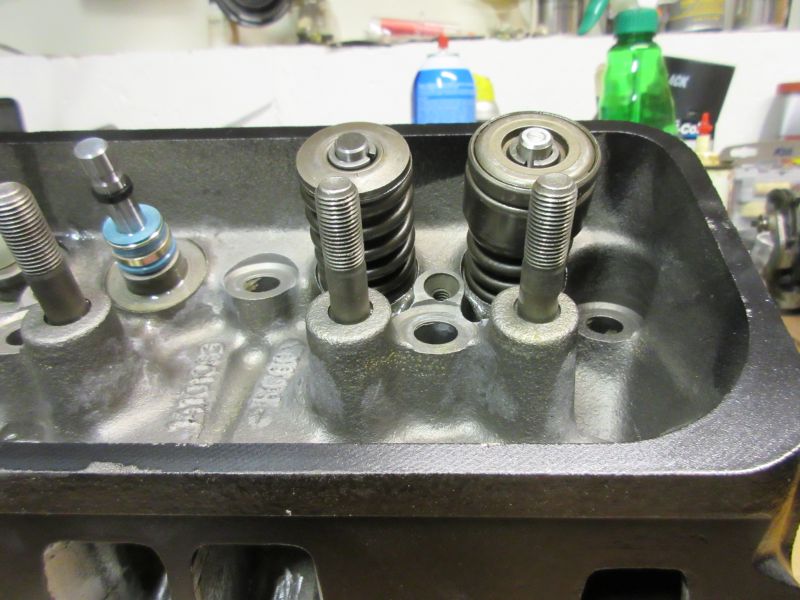 This is what happens when you aren't paying attention. I left off the cap on the intake valve, D'oh! |
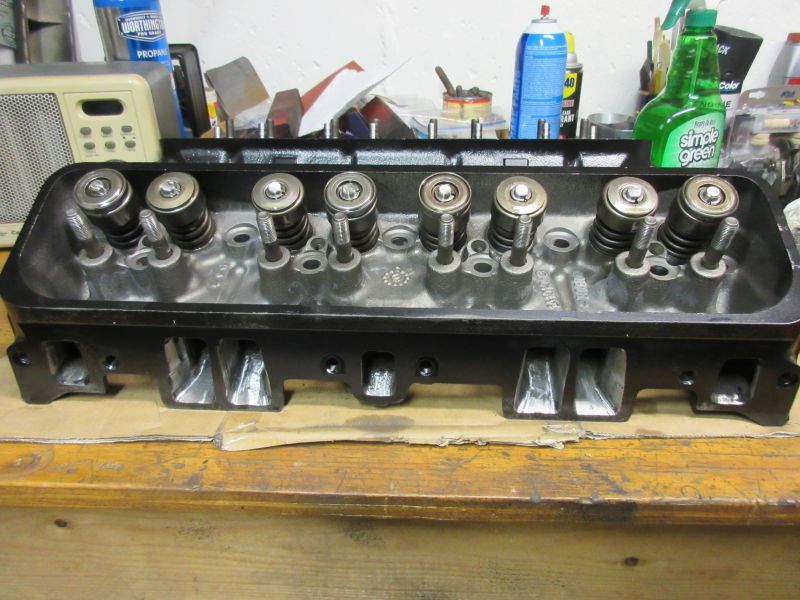 One head is done, still waiting for the repair on the second one. |
| Copyright 2015 © ThirdGenRestoration.com |  |
 |