Third Gen Restoration - Re-installing The Rollbar
| I decided to keep the rollbar, for no other reason than IT'S COOL! It needs some adjusting before it goes back in. It has to sit a couple of inches further back to allow for more front seat travel. I'm also going to remove the X-braces because they just get in the way. I want to make the door bars swing out of the way to make getting in and out of the car easier. And I'll be putting the down bars in. They came with the shell, but were never attached. In the end it will be a 6-point cage. |
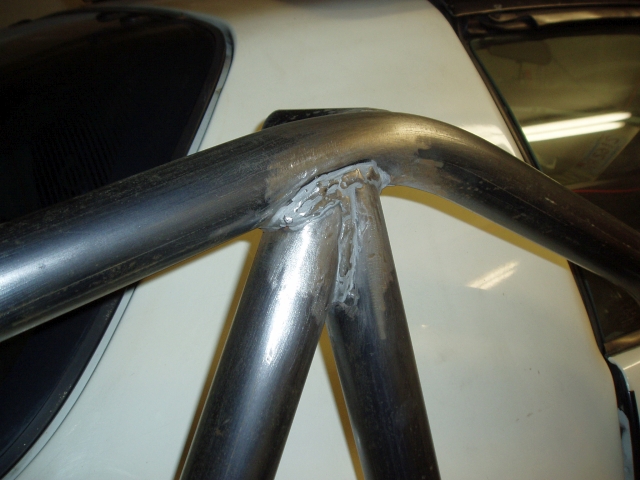 The intersection of the points was filled with with Bondo, probably to cover the amateur welds. |
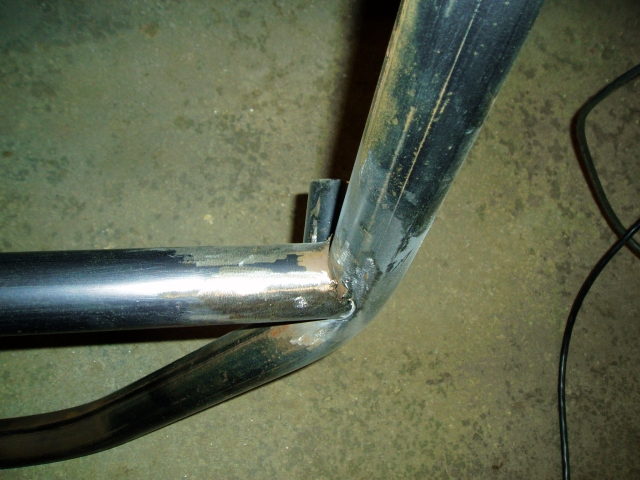
 The cutting begins. I'm doing this with a grinder with a cutting disk. |
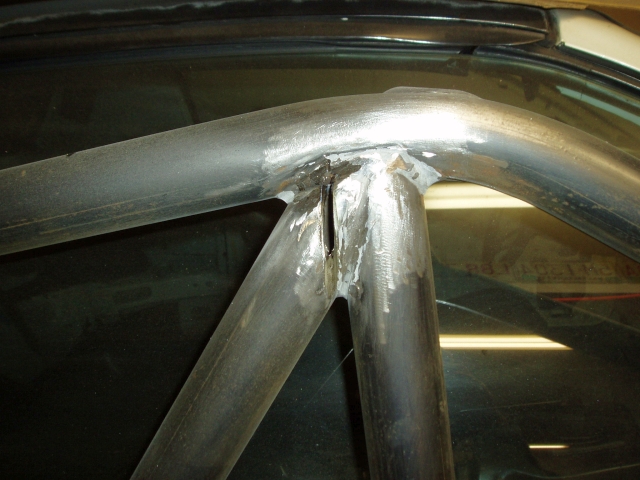
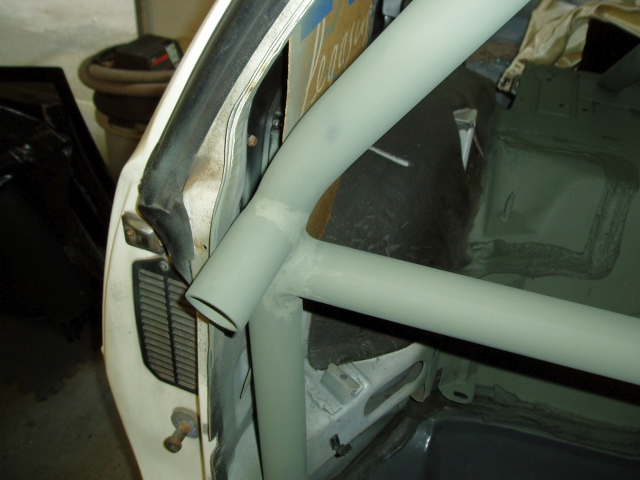
 Removal of the first angle bar shows the crossbar wasn't welded completely to the upright. |
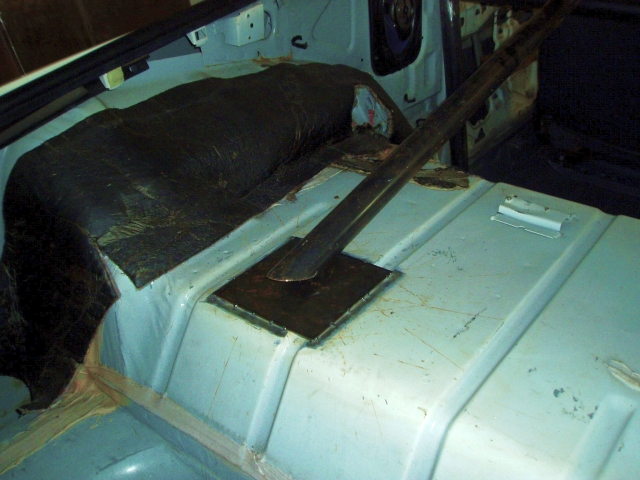
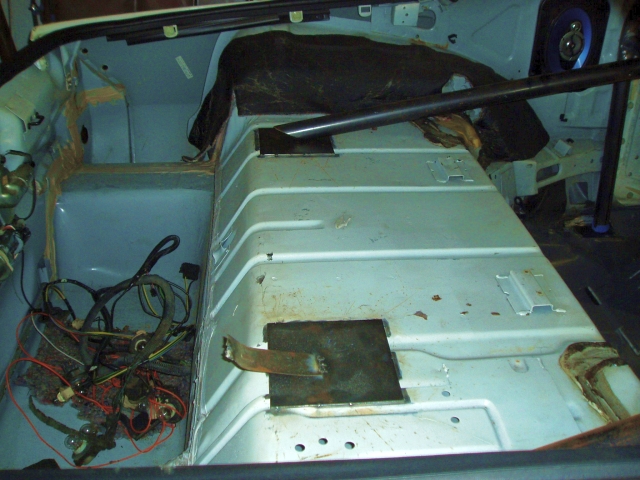
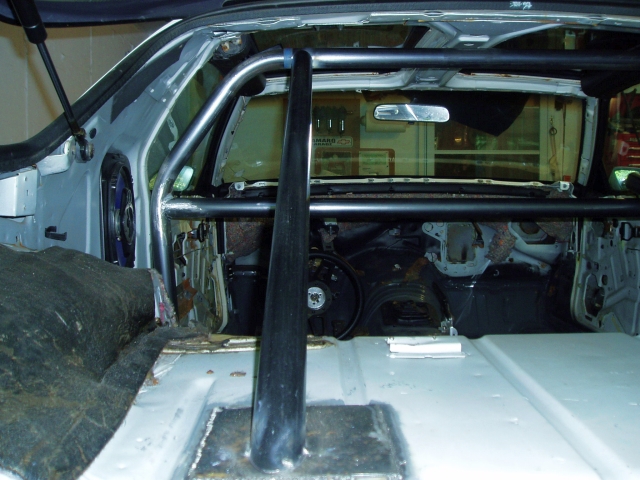
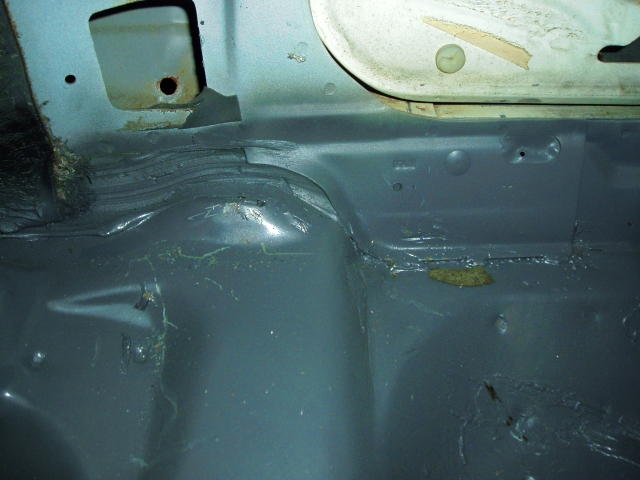 I'm going to move the hoop back a few inches so it sits behind the door opening. Originally it was mounted in the triangle shaped area on the floor in this picture. Now it will be anchored where the hump is, so that will have to be cut down. |
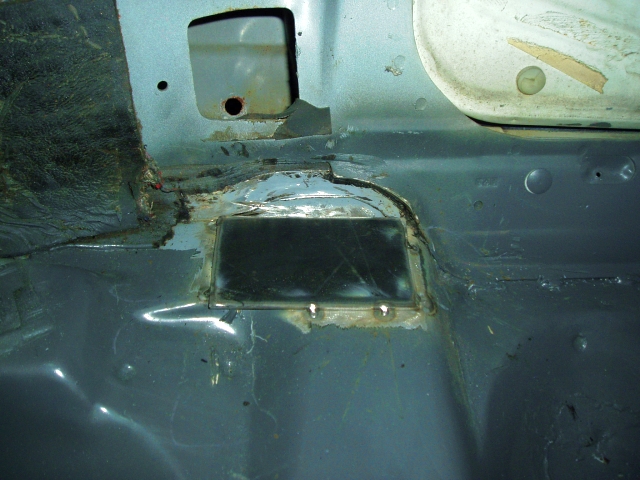 The hump is cut out and a plate is tacked to the floor. |
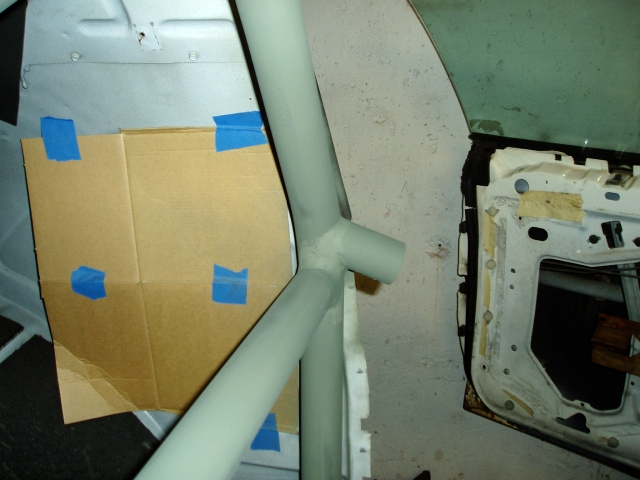
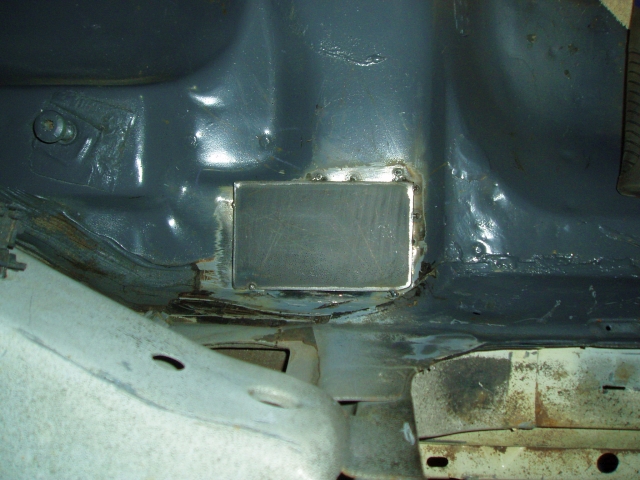 This is a top down view of the plate on the passenger side. |
 Next I'll put in some anchor plates for the rear down tubes. Note that the down tube in this picture is just resting on the lower crossbar, it will not be at this angle. |
 Everything is measured and the plates are tacked in place. |
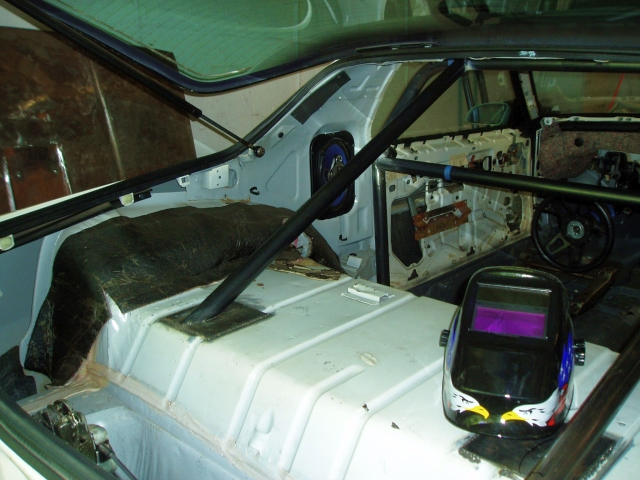
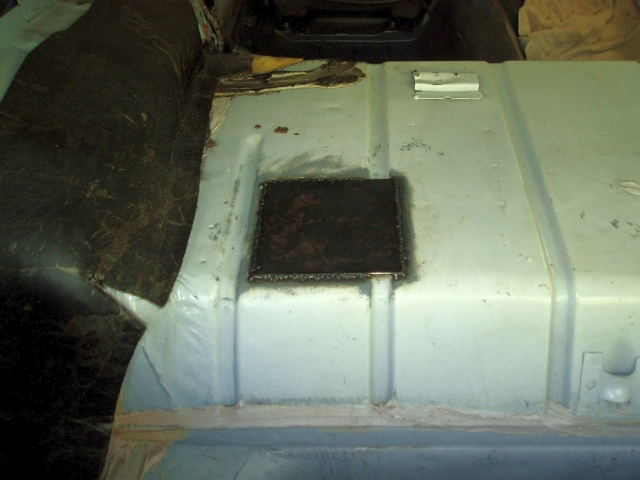 Final welding of the driver side. One thing to note is that the gas tank was removed from the car before this was done. I would strongly recommend this be done before welding this floor area above the tank. |
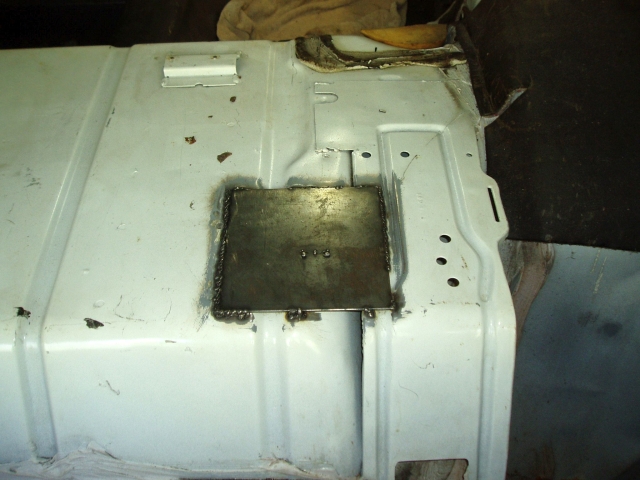 Final welding of the passenger side rear plate. |
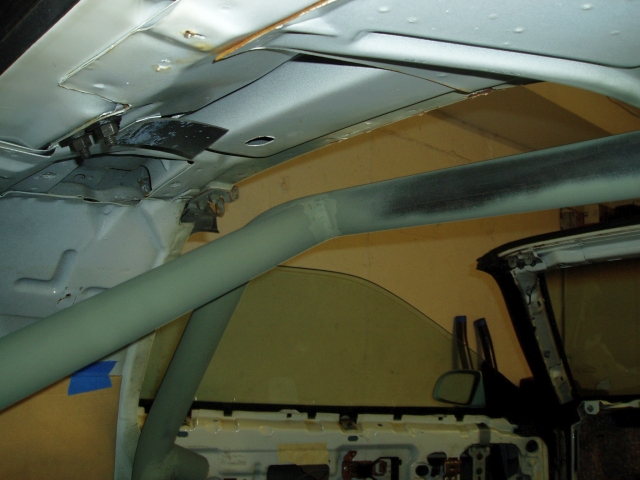
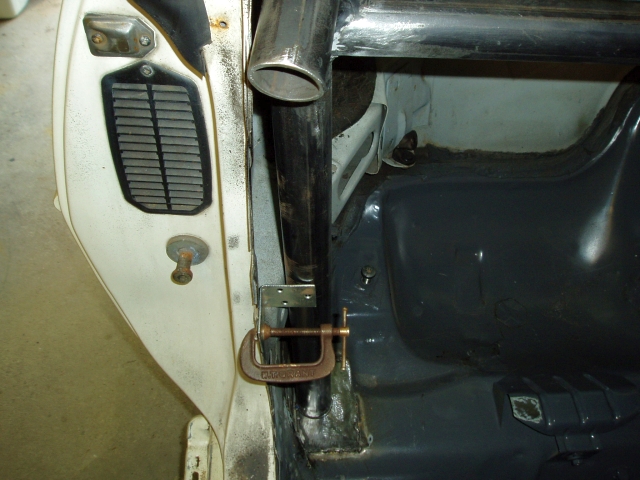 Now it's time to position, level, and tack in the loop. |
 In place of a second set of hands, a clamp and angle bracket assist. |
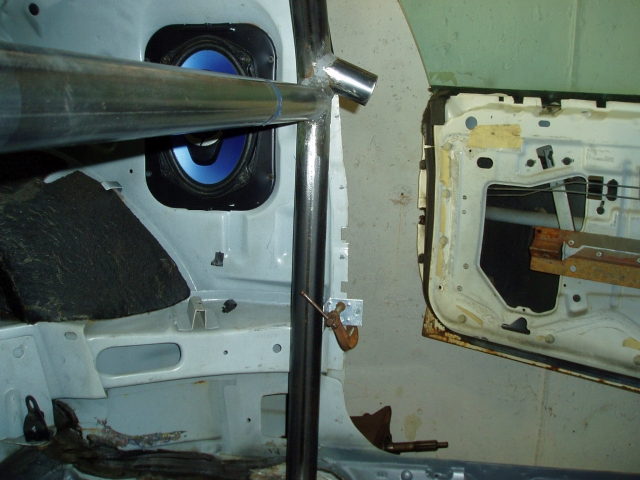
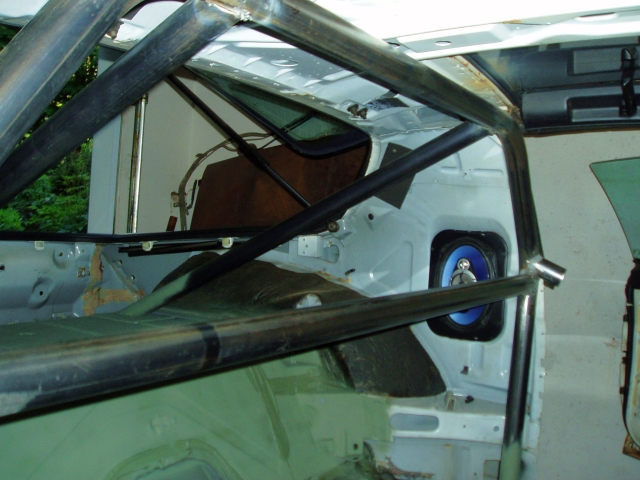
 After careful measurement, and a whole lot of cutting and grinding, the first rear down bar is tacked in place. |
 Now to move on to the second one. |
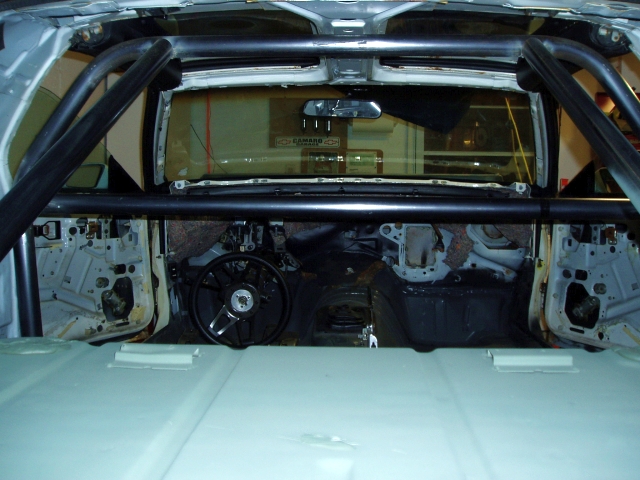 The rear down bars are done and tacked in place. |
 With everything in place, it's time for the final welding. |
 I took a cue from the previous owner and used some body filler to smooth the welds. |
 |
 The nubs in front will eventually be used for some swing-out door bars. |
| Copyright 2015 © ThirdGenRestoration.com |  |
 |