Third Gen Restoration - Installing Sub-Frame Connectors
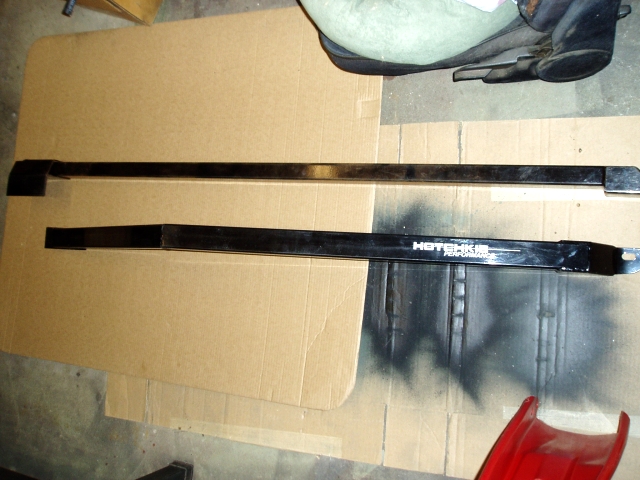
| I recently came across a great deal in the ThirdGen.com classifieds for some brand new Hotchkis sub-frame connectors. These are a two piece weld-in system. |
 |
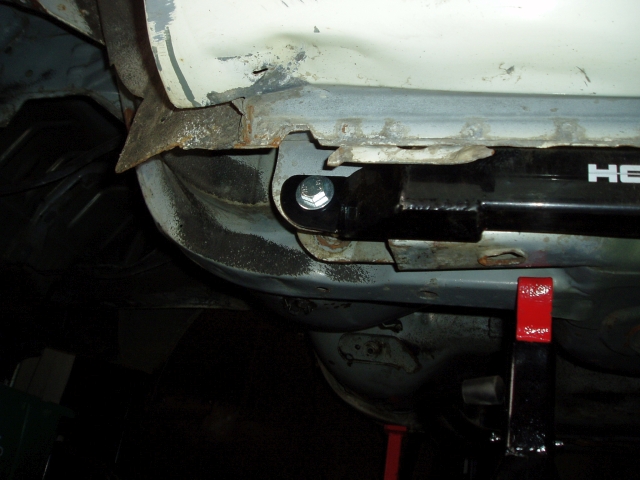 The rear of them get share the mounting for the rear lower control arms. |
 These are weld on sfc's, but they also use the bolt for the lower control arm. |
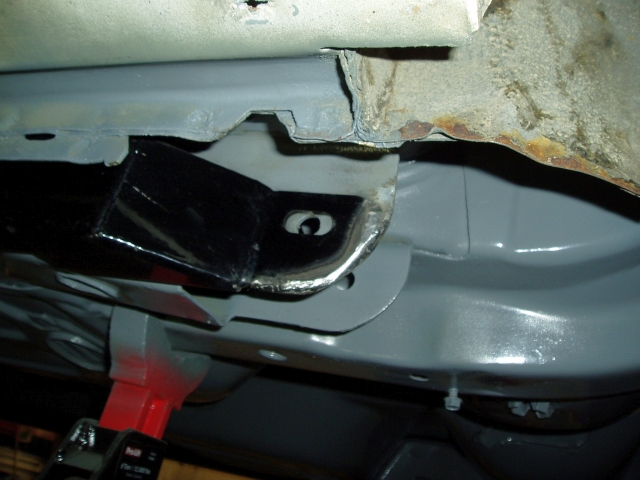
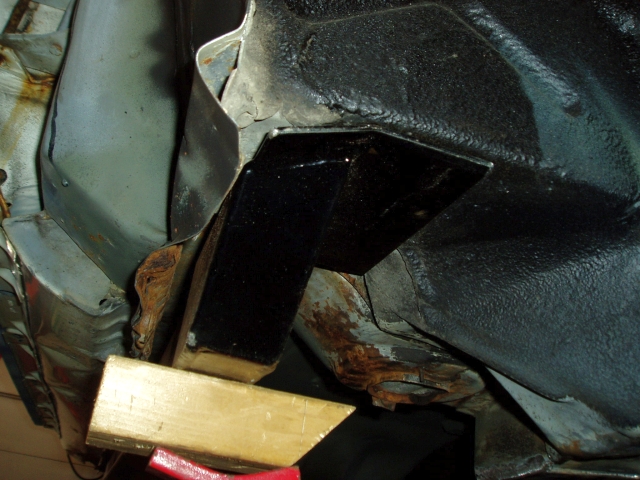 In the front, they get welded to the sub-frame structure. |
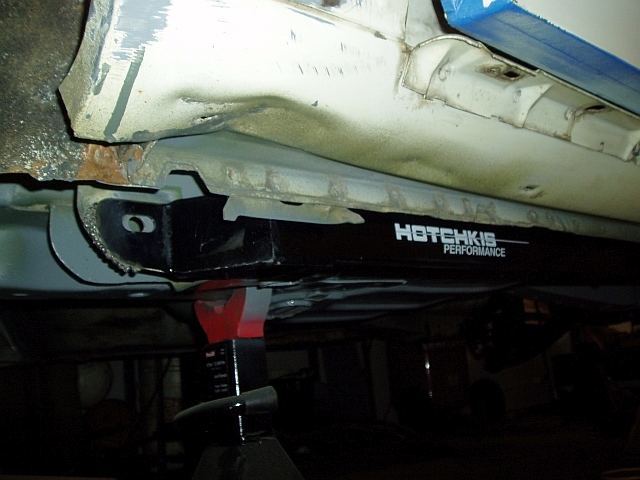
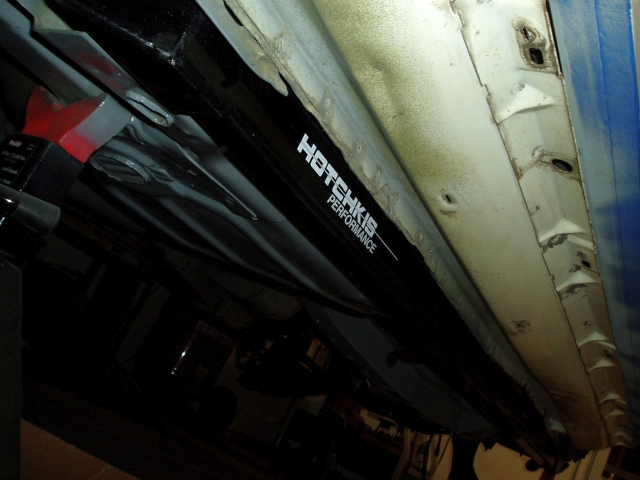
 Hotchkis makes a nice product. Look how they fit the contour of the body. |
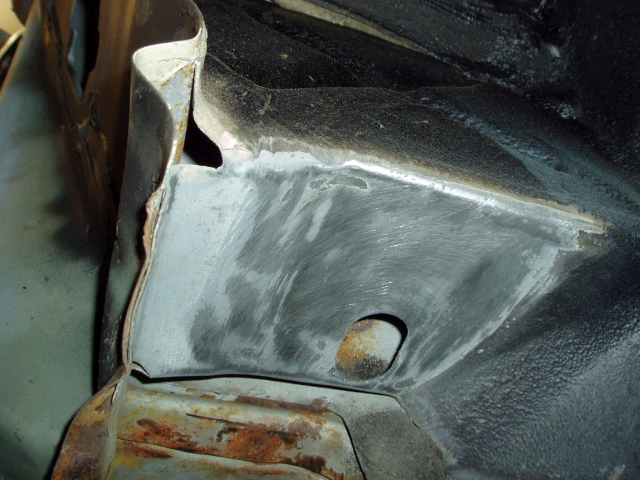 Some cleaning up is necessary before welding. |
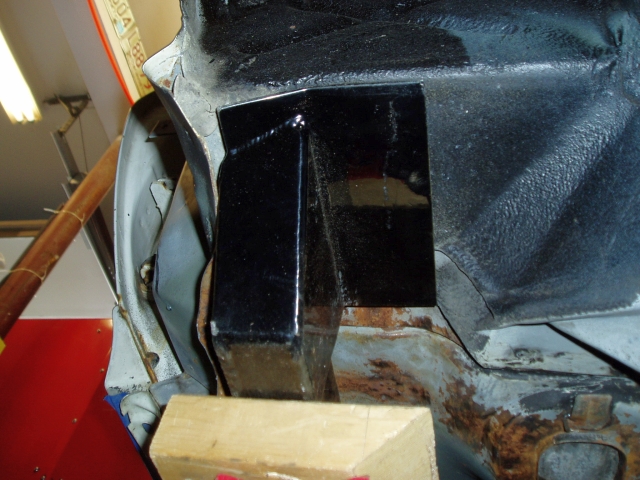
 After priming the area, the weld points are masked for paint. |
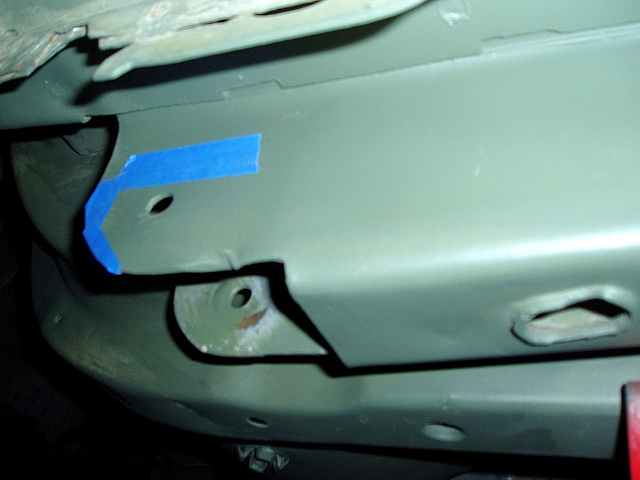 Same for the rear. |
 The front mount point is welded. |
 |
 The rear mount point is welded. |
 |
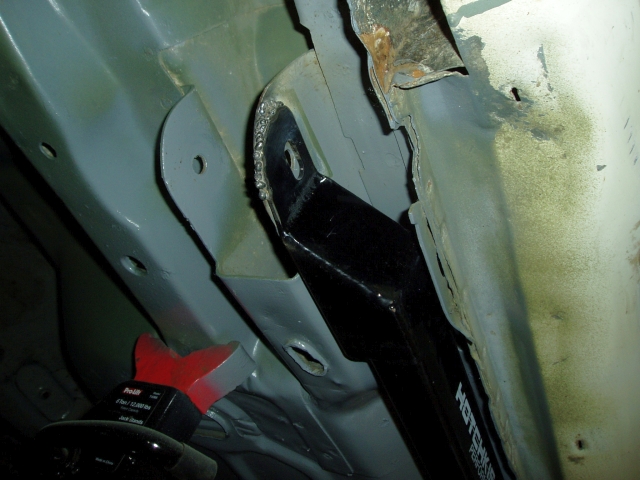 Yes, that is an ugly weld, but the grinder will clean it up. |
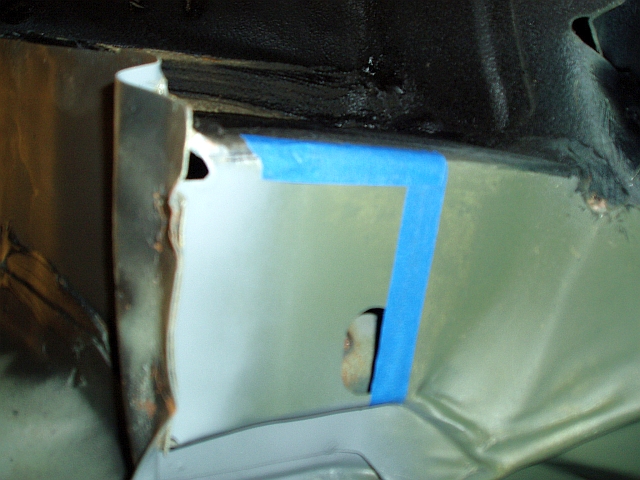
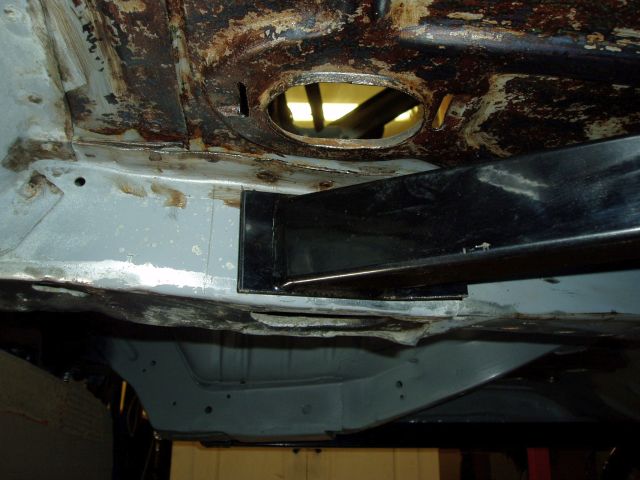 The driver side connector is mocked in place to identify the mounting area. |
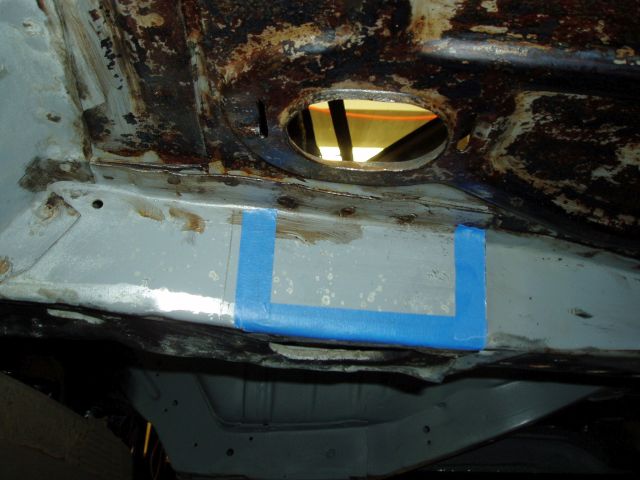 The mounting weld points are masked so I can paint the surrounding area before the connector gets welded up. I won't be able to access the area after it's installed. |
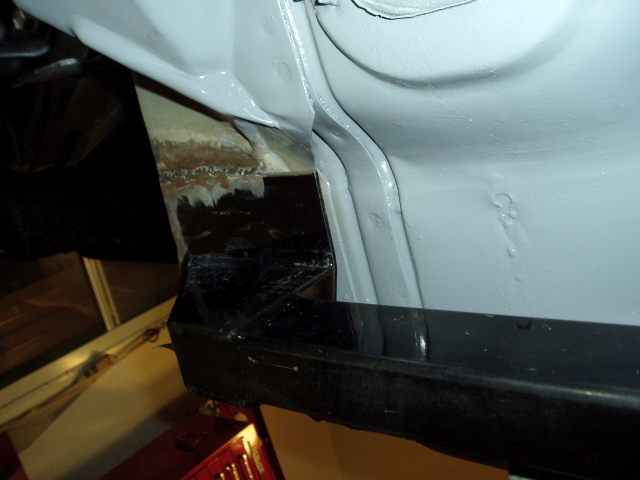
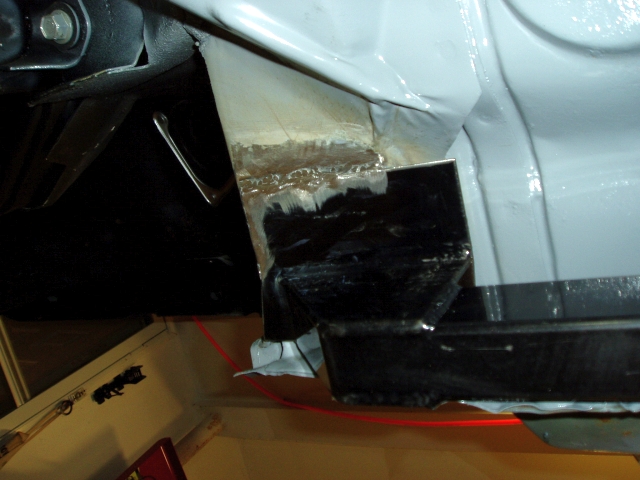
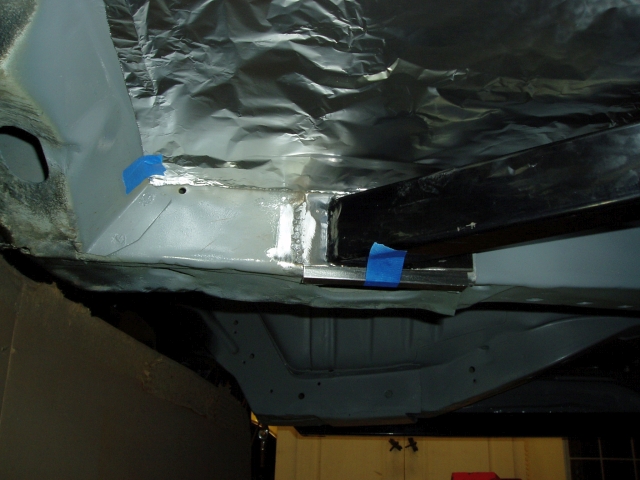 The front is welded up. The tin foil is to keep the welding and grinding from damaging the fresh paint underneath. |
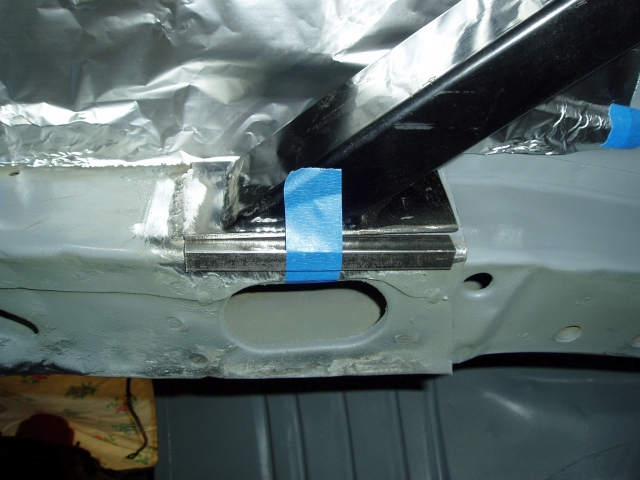 The bottom of the mount plate didn't sit flush with the subframe, so I cut some 1/2" angle to fill the gaps and provide a weld point. |
 The rear of the driver side after welding. |
| Copyright 2015 © ThirdGenRestoration.com |  |
 |